Sandbox on macOS
File System access in a sandboxed macOS application
While the sandbox is great for consumers and the overall security on Apples platforms it can be quite frustrating to deal with. On macOS, in comparison to iOS, this gets even worse since you are more likely to deal with the file system and other sandbox related resources of the system. Unfortunately as soon as you plan to sell your application in the Mac App Store this is the only option you have. Part of developing my upcoming Text Editor Caret was to read and write markdown and plain text files from/to disk so doing the whole sandbox dance was without any alternative.
How hard can it be?
First things first you probably start by looking into the FileManager API to access the file system. By quickly browsing through the available API it looks like we are in the right spot for our requirement. 🔋 Batteries included. To get a list of files in a specific folder one only has to write these simple couple of lines, right?:
let url = URL(fileURLWithPath: "/path/to/folder")
let fileURLs = try FileManager.default.contentsOfDirectory(at: url,
    includingPropertiesForKeys: nil,
    options: .skipsHiddenFiles)
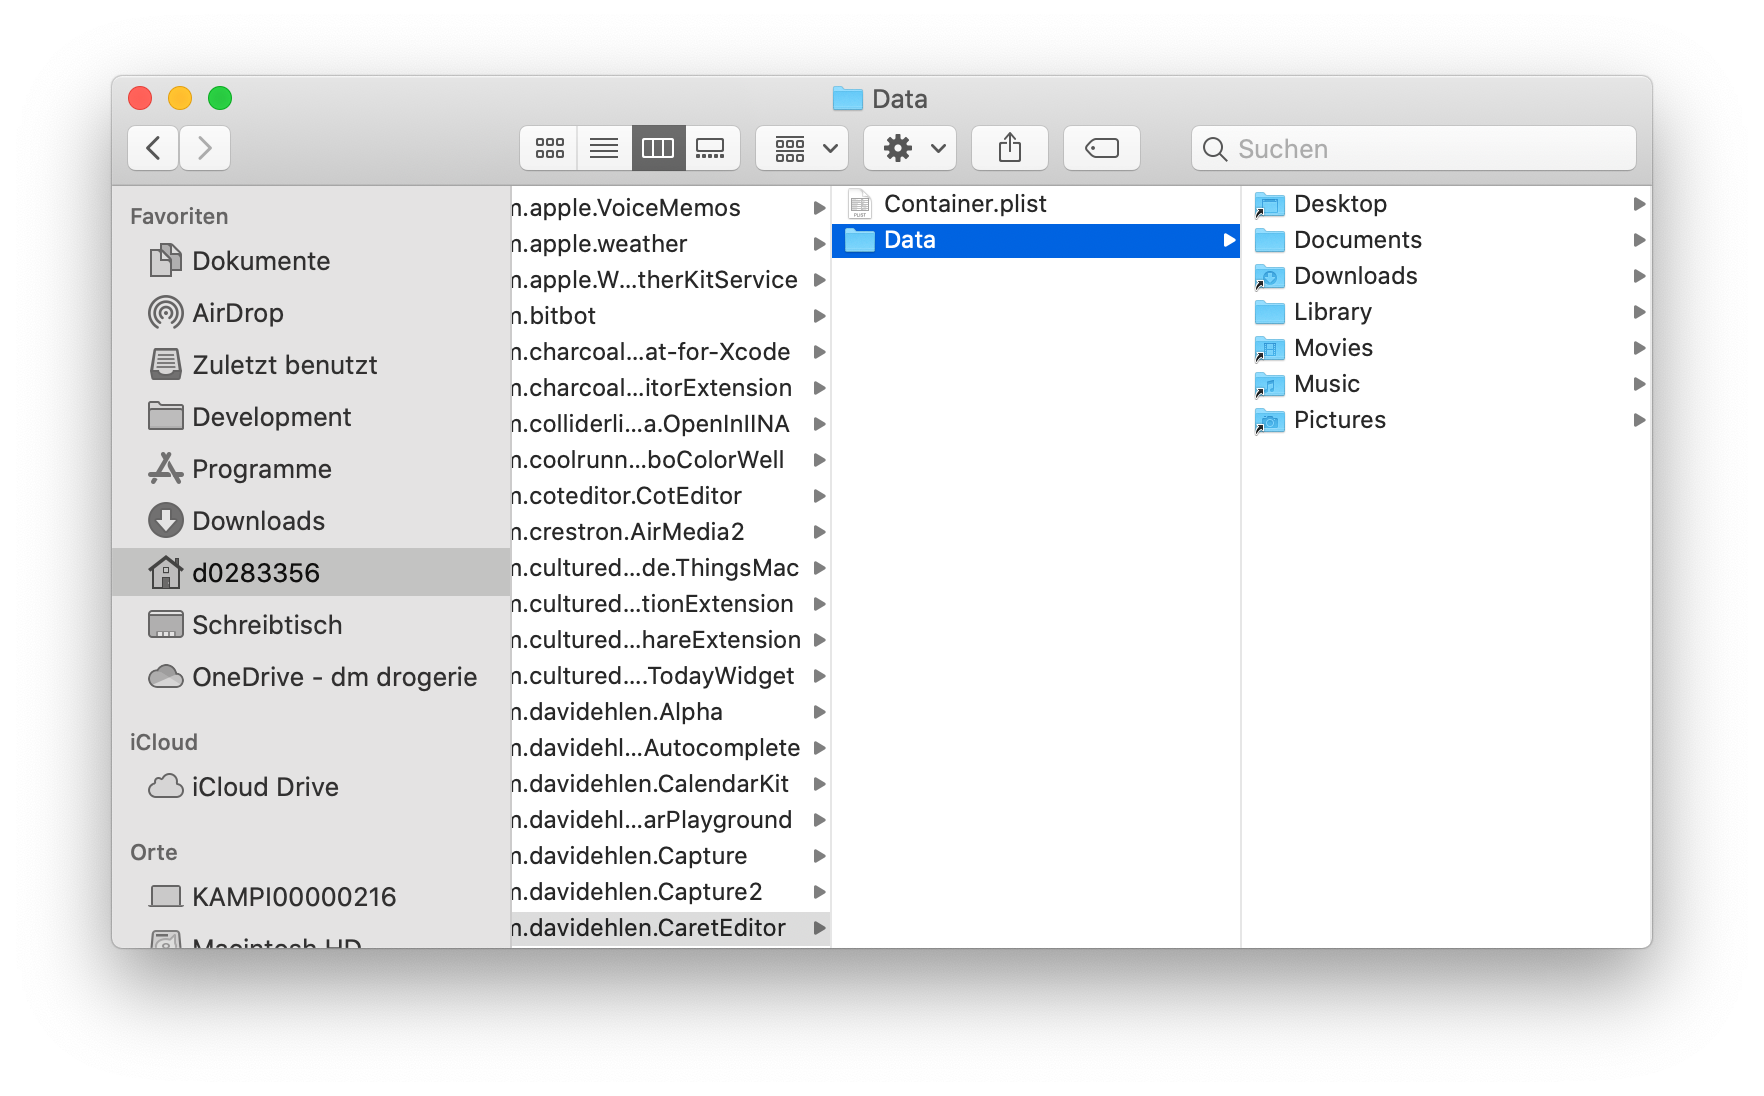
This works fine as long as you specify a folder outside of the applications sandbox. Every macOS application creates a sandbox with a dedicated Documents directory for example.

But what about the users Documents directoy at $HOME/Documents? Trying to read files from this directory will yield an error. The user did not grant any permission to read this directory. This is great for us as a consumer but how do we deal with this from a developers perspective?
Full-Disk Permission
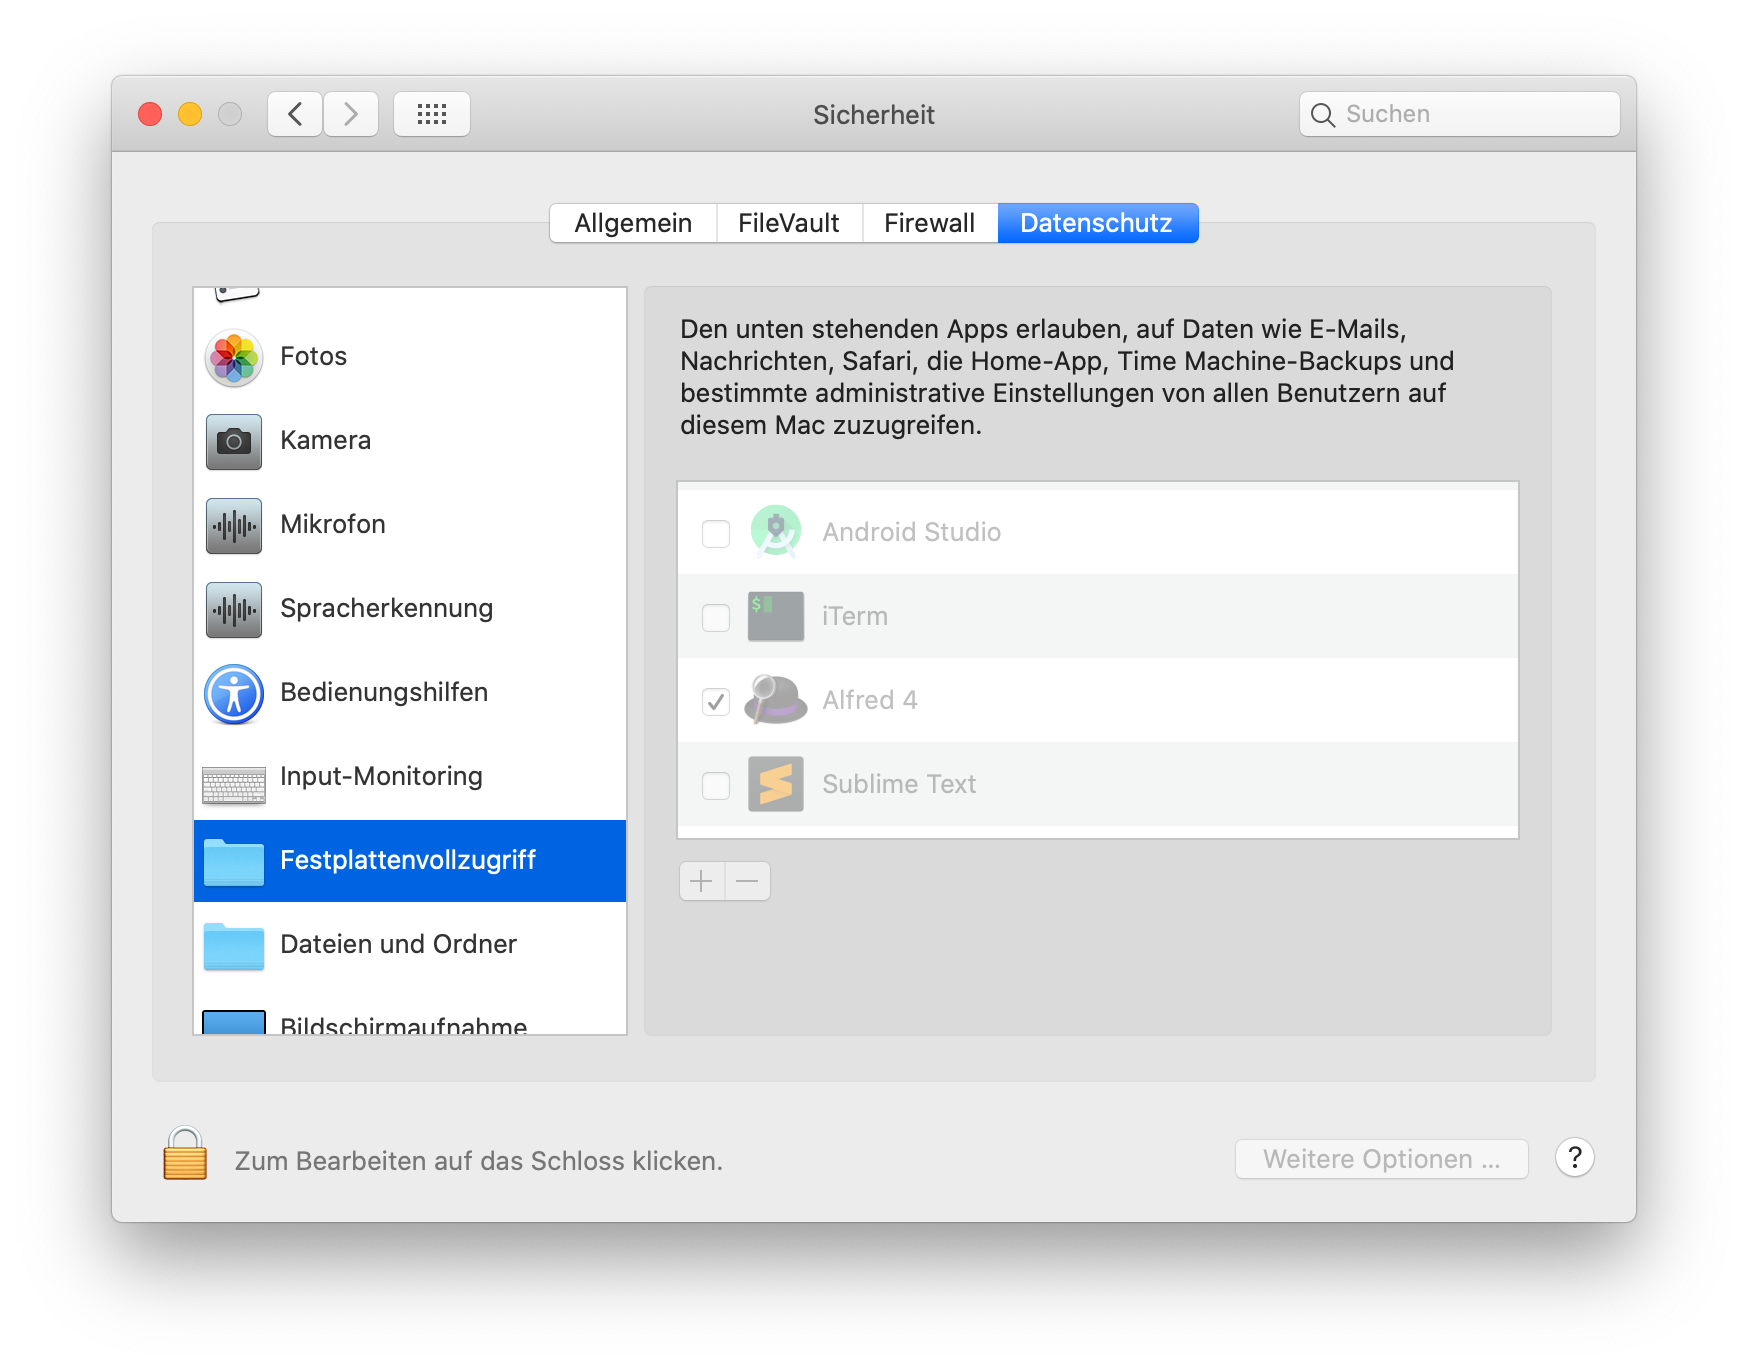
There are a handful of options we have right now. We could ask the user for Full-Disk Permission. This would certainly make our life easier, but lets be honest: We probably would delete the app right away as a consumer.

Disabling Sandbox
We could also disable the sandbox but then we won’t be able to sell our application through Apples Mac App Store (as stated above). So not a great option either.
NSOpenPanel
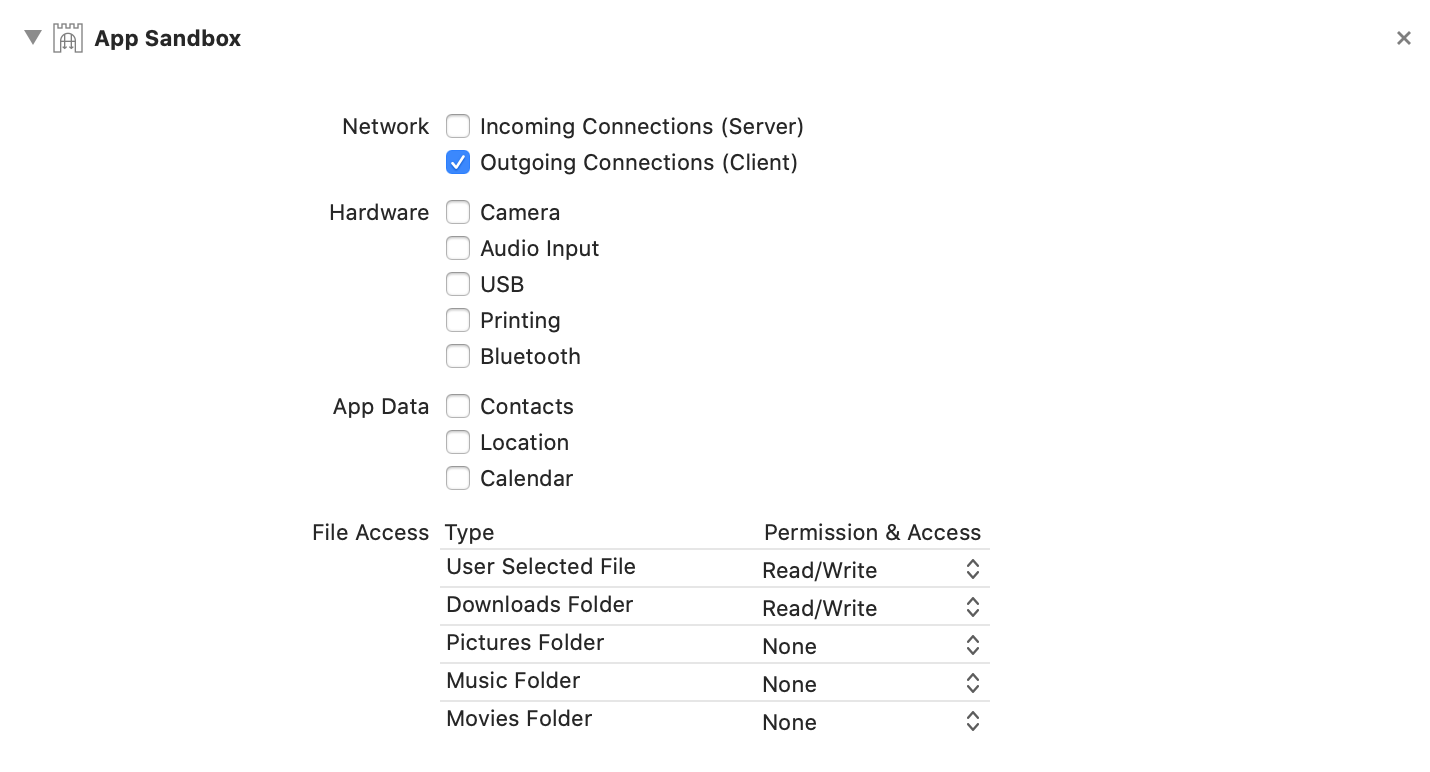
Next there is the possibility to ask the user for permission to access the specific folder before trying to read or write files. This actually is the right way to do it and NSOpenPanel already handles this for us. However to use this we need to configure our Xcode project first. Go to General —> Target —> App Sandbox —> User Selected File and select Read/Write.

Xcode will now create an entitlements file and sets the correct .plist entries for you. To prompt the user to select a directory we now finally can request an NSOpenPanel like so:
func requestPermission(then handler: @escaping (URL?) -> Void) {
    let openPanel = NSOpenPanel()
    openPanel.message = "Choose your directory"
    openPanel.prompt = "Choose"
    openPanel.allowsMultipleSelection = false
    openPanel.canChooseDirectories = true
    openPanel.canCreateDirectories = true
    openPanel.canChooseFiles = false
    openPanel.begin { (result) -> Void in
        if result == .OK {
            handler(openPanel.urls.first)
        }
    }
}
Invoking the FileManager API after an user selected an URL in the presented NSOpenPanel will return the expected results. Yay!
That’s it for todays post. Thank you very much for joining me on this and ... wait. Of course this wasn’t the whole thing. There has to be some caveat for making implementing sandbox on macOS a theme for a blog post, right? Actually the granted permission from the selected folder won’t be persisted. Whenever the application relaunches we will have to ask for permission again. The solution to this problem are Security-Scoped Bookmarks. At this point we probably already read the whole abstract on the macOS sandbox over at App Sanbox Quick Start, just to find this massive, complex abstract:
App Sandbox in Depth.
Luckily for you, you can just proceed reading this blog post to get the gist of it and to finally implement macOS sandboxing (for real!).
Security-Scoped Bookmarks
The concept is fairly simple. Whenever you get access to a new location outside of your apps sandbox you want to store the URL as serialized data in a persistent store(UserDefaults/.plist are good options here). When the application is launched we try to read back the saved data. In practice URL bookmarks can be marked as stale and they need to be refreshed. Your implementation will need to handle this case, otherwise the bookmark will be unusable at some point.
Storing a bookmark
To store a bookmark we will use
func saveBookmark(for url: URL) {
    let data = try url.bookmarkData(options: .withSecurityScope, includingResourceValuesForKeys: nil, relativeTo: nil)
    // persist data somewhere
}
You most certainly want to call this in the completion block of your NSOpenPanel. The returned data then can be stored in your persistent container. By calling this in the completion block of the NSOpenPanel we make sure the bookmark data will be written when we launch the application the next time.
Reading and refreshing a bookmark
Reading a bookmark is fairly simple as well. We can leverage an already existing initializer of Foundation.URL:
func restoreBookmark(with bookmarkData: Data) -> URL? {
	do {
		var isStale = false
		let url = try URL(resolvingBookmarkData: bookmarkData, options: .withSecurityScope, relativeTo: nil, bookmarkDataIsStale: &isStale)

		if isStale {
	  	saveBookmark(for: url)
		}

		return url
	} catch {
		debugPrint(error)
		return nil
	}
}
As I already mentioned a persisted bookmark can be marked as stale. When this happens we need to refresh it by invoking our saveBookmark function once again. At this point we are nearly finished, although the above solution still won’t work. In order to really access the bookmarked URL we need to start requesting access to it, before doing any read/write operation.
Start / Stop Requesting Access
When we’re ready to read files, we’ll have to wrap this in a pair of calls to signal that we want to access the resource:
defer { url.stopAccessingSecurityScopedResource() }
if !url.startAccessingSecurityScopedResource() {
    print("startAccessingSecurityScopedResource returned false. This directory might not need it, or this URL might not be a security scoped URL, or maybe something’s wrong?")
}
// do your file operation
Here we call startAccessingSecurityScopedResource on the URL we’ve been given. This might return false under a few conditions:
-
The user really doesn’t have access to this
-
The URL isn’t a security scoped URL
-
This directory doesn’t need it, f.e
$HOME/Downloads
In most situations, like accessing the Downloads folder, you are probably safe to just log the result, like in the code snippet above, and to continue.
Providing a wrapper
Of course we do not want to introduce code duplication into our perfectly structured, highly optimized codebase :) So it sounds like a good plan to introduce a wrapper in order to abstract this complexity away from our buisness logic. Also it might be a good idea to store bookmarks in a dictionary [URL: Data] to be able to store multiple bookmarks our application then has persisted access to. I published a gist at:
SandboxDirectoryAccess.swift and I invite you to use it, no questions asked.
Conclusion
When you made it that far, congratulations. You earned yourself some time to take a break. However at some point you probably want to start to comply with Apples recommendation and wrap all your file system calls in a FileCoordinator to make sure your read and write operations are properly coordinated throughout the system. I’ll provide an extensive guide on this topic on another day.
Posted in macos